| first-webserver | ||
| serial-out | ||
| tasmota | ||
| .DS_Store | ||
| .gitignore | ||
| breadboard.png | ||
| DE_SolderComic.pdf | ||
| esphome.yaml | ||
| flash.png | ||
| ide.png | ||
| librarymanager.png | ||
| LICENSE | ||
| preferences.png | ||
| README.md | ||
| schaltplan.fzz | ||
| schaltplan.png | ||
ESP Pflanzensensor Workshop
Die Projektdokumentation zum Pflanzensensor Workshop.
https://curious.bio/2022/11/remote-chaos-experience/
Komponenten
Mikrocontroller
Luftfeuchtigkeits- und Temperatursensor
Bodenfeuchtesensor
- Capacitive Soil Moisture Sensor v1.2
- analoges Signal!
- Datenblatt
- https://thecavepearlproject.org/2020/10/27/hacking-a-capacitive-soil-moisture-sensor-for-frequency-output/
Systemanforderungen
- Python Runtime Environment
- Fritzing Prototyping Editor
- Arduino IDE
- VSCodium Code Editor alternativ zur Arduino IDE
Schaltplan


Arduino IDE
Download hier: https://www.arduino.cc/

Um mit den ESP-basierten Boards entwickeln zu können, müssen diese hinzugefügt werden (Einstellungen -> Board Manager URLs): "http://arduino.esp8266.com/stable/package_esp8266com_index.json,https://dl.espressif.com/dl/package_esp32_index.json" Man kann diese einfach in die Zeile einfügen. Unterschiedeliche Board-Manager-URLs können mit einem Komma getrennt sein.

Um den DHT11 auszulesen, benötigen wir zusätzlich noch eine Library (Tools -> Manage Libraries): "DHT sensor library for ESPx by beegee_tokyo":

Zum Flashen (Upload) muss das richtige Board "LOLIN(WEMOS) D1 mino (clone)" und der richtige Port (ein serieller Port, an dem das Board über USB angeschlossen ist) ausgewählt sein.

Hier hilft die Doku sicherlich weiter: https://support.arduino.cc/hc/en-us/articles/4733418441116-Upload-a-sketch-in-Arduino-IDE
Beispiele
Es gibt zwei Beispiele.
serial-outgibt einfach Messwerte über den Serial Monitor aus.first-webserverpräsentiert die gleichen Messerte auf einer Website
Damit der Webserver im eigenen Netzwerk funktioniert, muss dieser die SSID des Wifis und das Passwort kennen. Es ist am einfachsten, diese Zeile zu löschen:
#include "credentials.h" // put your WIFI credentials in here
Statt dessen kann man dann die SSID und das Passwort des eigenen WLANS in diesen Zeilen eintragen:
// Replace with your network credentials
const char* ssid = secrect_ssid;
const char* password = secret_password;
Zum Beispiel so:
// Replace with your network credentials
const char* ssid = "MeinKabelWifi";
const char* password = "letMeIn123";
Tasmota
Tasmota is an alternative Firmware for ESP8266. It's easy to use as it has a graphical interface.
You can flash Tasmota right from the browser using the Tasmota Web Installer.
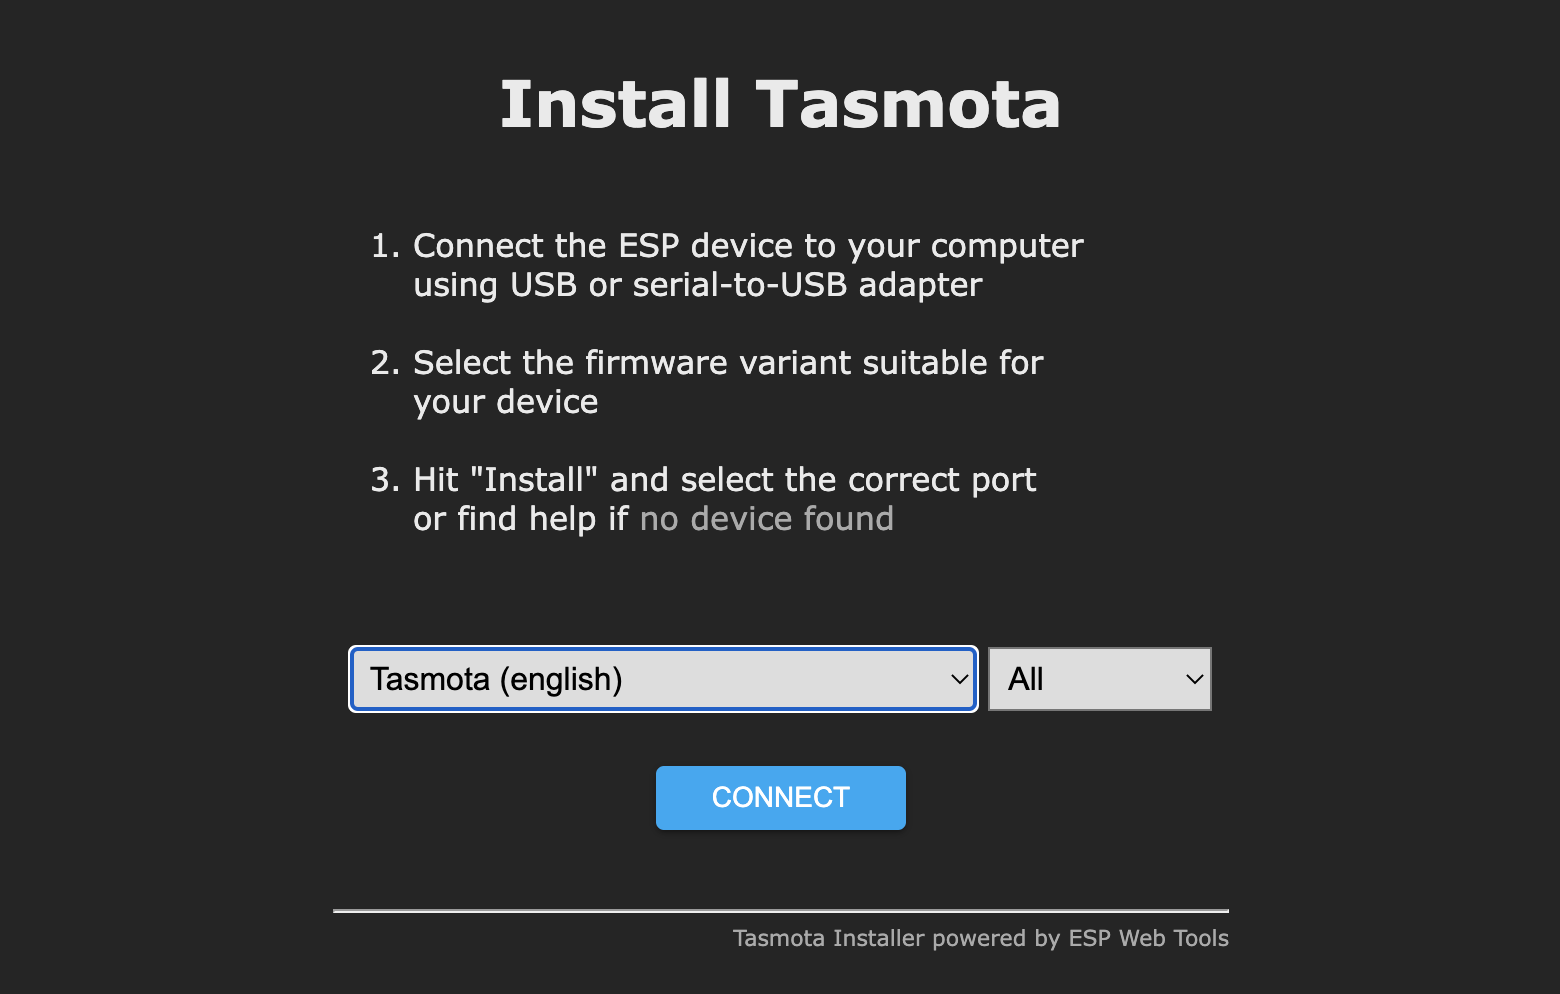
You have to connect your device with a USB cable and select the right port. Exisisting firmware will be delete.

After Tasmota has been flashed to your ESP, you can already set up your wifi.
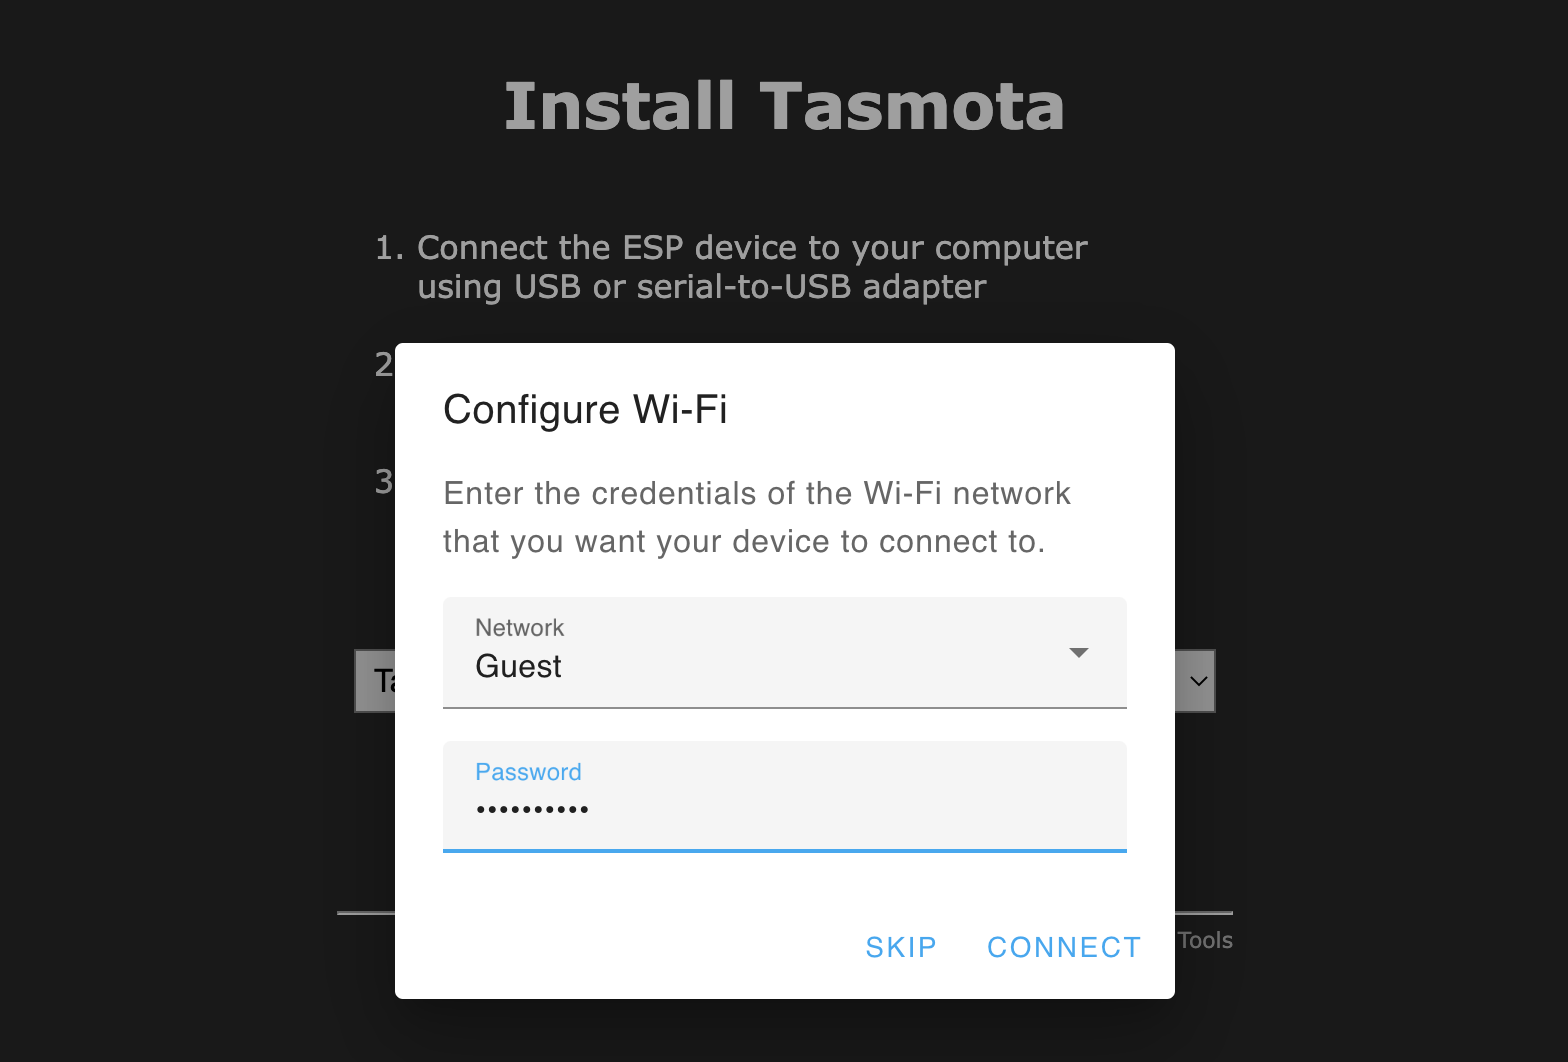
AFter your device is connected to Wifi, you can switch over to the web UI of your device. Yes, your device now runs an embedded web server. There you can configure your device.
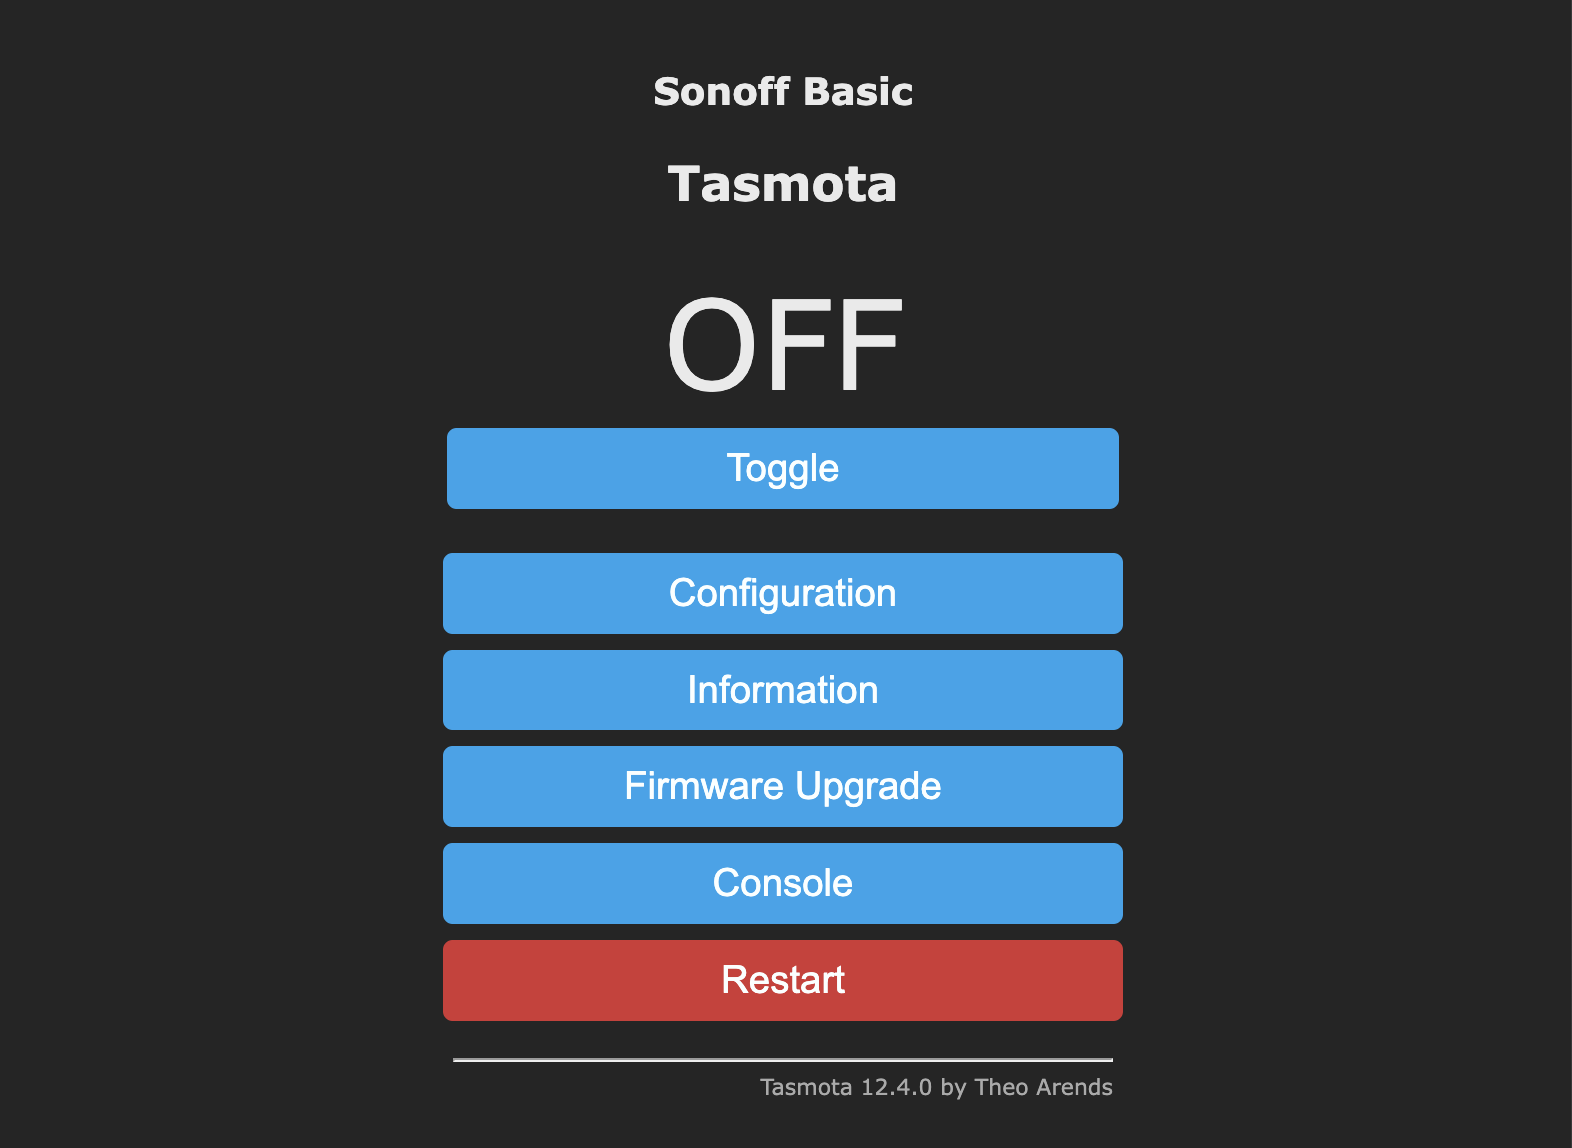
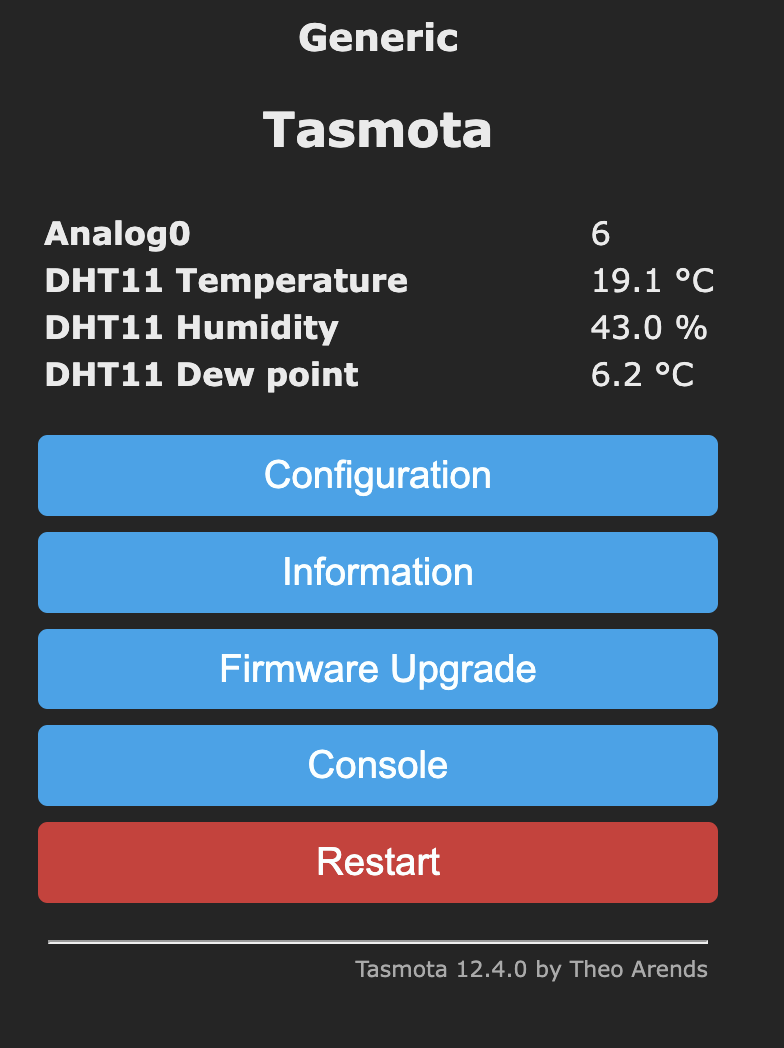
Configure
Using this Web UI you can configure your device: Configure -> Configure Module
Our Wemos D1 mini clone is a generic device with 18 ports. We have a DHT11 connected to D1 and an analogue measurement on A0.
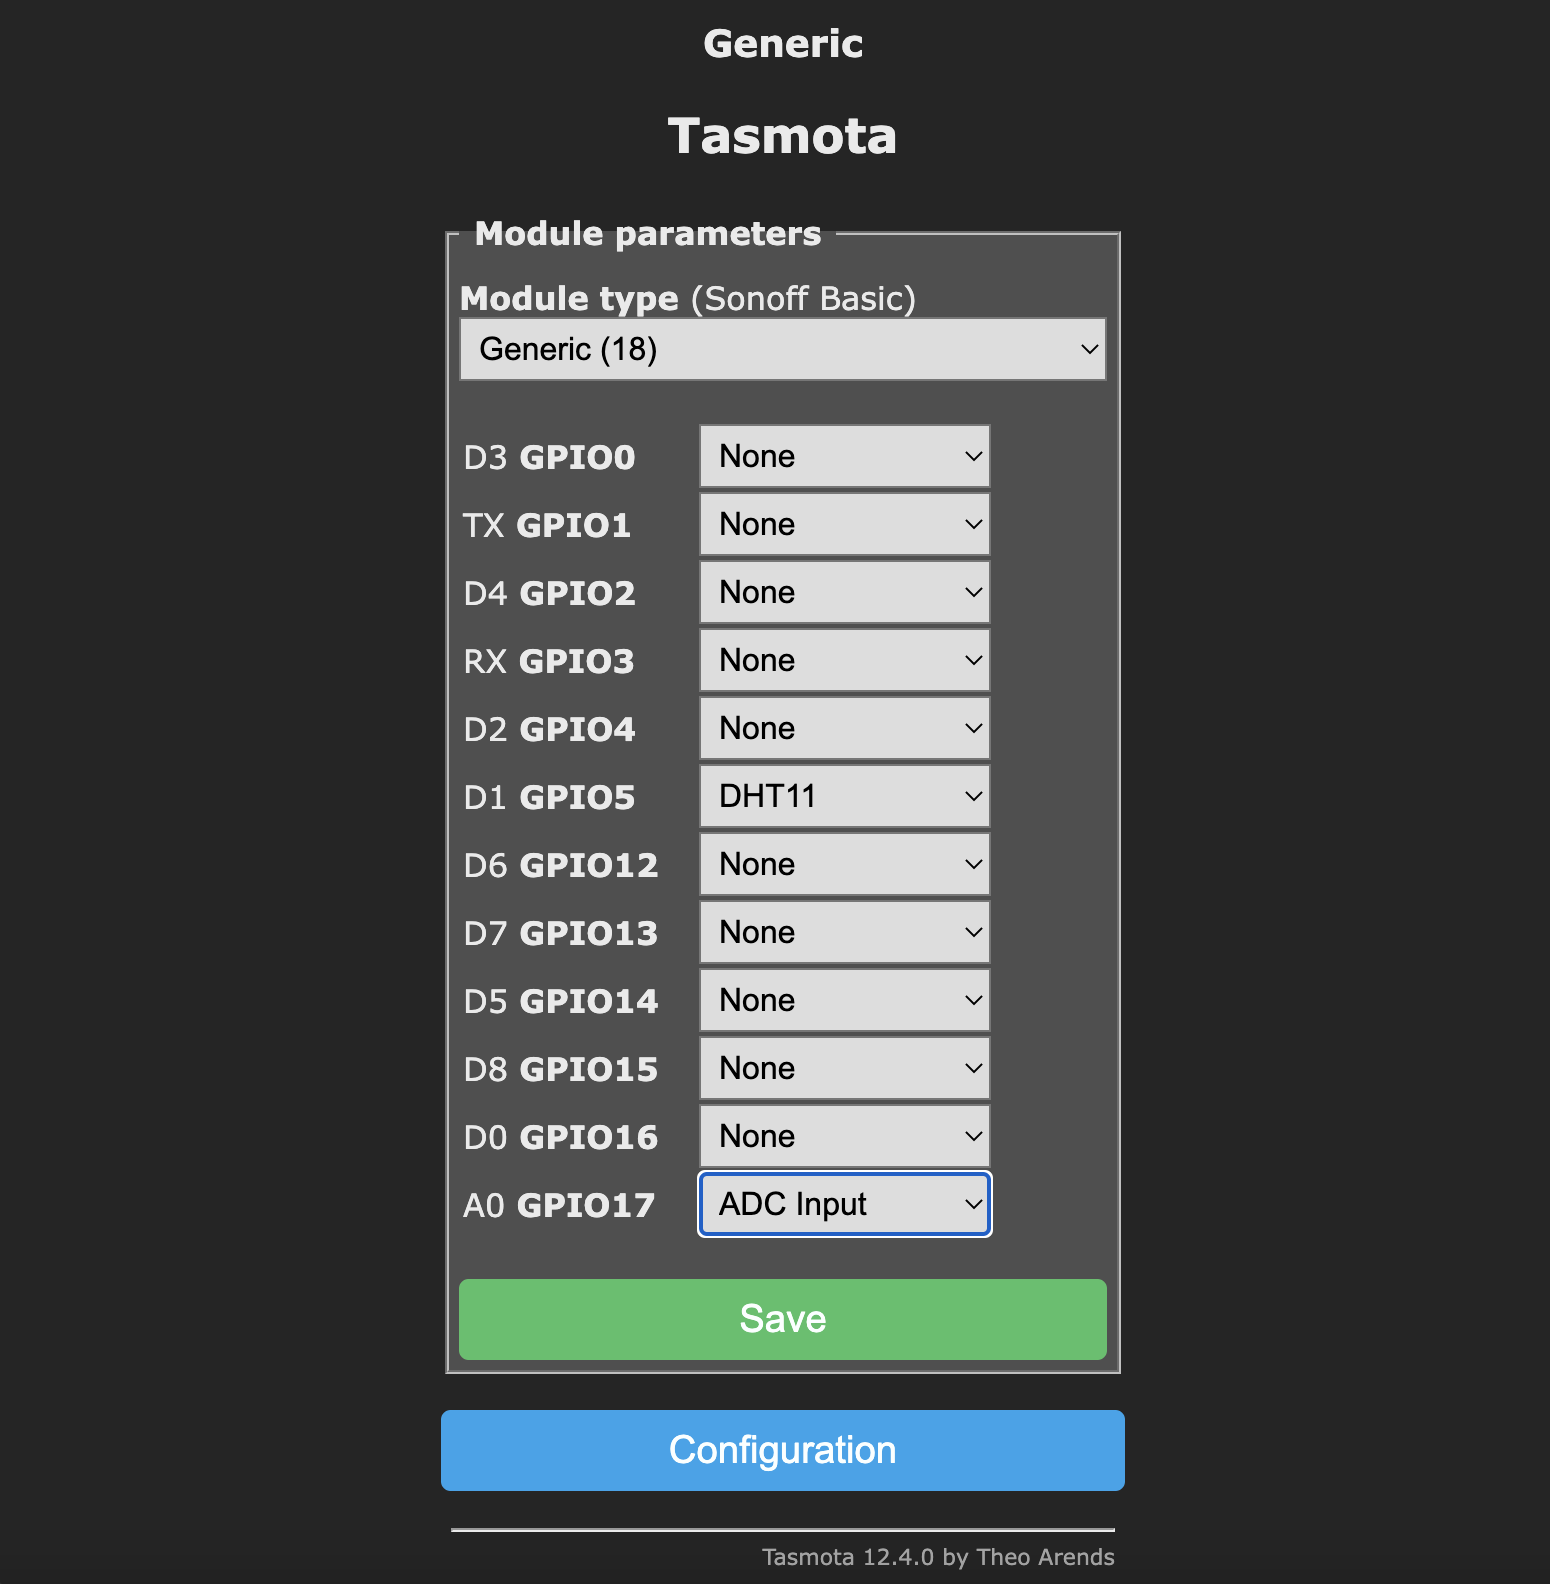
After configuring it this way, we can see you data in the web UI.
ESPHome
CLI
esphome --help
usage: esphome [-h] [-v] [-q] [-s key value] command ...

positional arguments:
  command               Command to run:
    config              Validate the configuration and spit it out.
    compile             Read the configuration and compile a program.
    upload              Validate the configuration and upload the latest binary.
    logs                Validate the configuration and show all logs.
    run                 Validate the configuration, create a binary, upload it, and start logs.
    clean-mqtt          Helper to clear retained messages from an MQTT topic.
    wizard              A helpful setup wizard that will guide you through setting up ESPHome.
    mqtt-fingerprint    Get the SSL fingerprint from a MQTT broker.
    version             Print the ESPHome version and exit.
    clean               Delete all temporary build files.
    dashboard           Create a simple web server for a dashboard.
    rename              Rename a device in YAML, compile the binary and upload it.

options:
  -h, --help            show this help message and exit
  -v, --verbose         Enable verbose ESPHome logs.
  -q, --quiet           Disable all ESPHome logs.
  -s key value, --substitution key value
                        Add a substitution
esphome compile esphome.yaml
esphome upload esphome.yaml